Table Of Content
Luckily, you can save some money by trimming your own hair at home! You might be a little nervous the first couple of times, but after you get the hang of it, you'll be glad you learned it! This wikiHow will give you instructions on how to cut long hair, short hair and even how to cut your bangs.
Edge Ahead Hair Shaper Razor
In testing, we were consistently impressed by its durability and power. Layers are also super important to keep in mind when cutting your own hair, especially if you already have them. It adds some light texture and creates a softer edge for your ends.
Tip #3: Know When To Cut Dry Hair
The only hard-set rule when you’re cutting your own hair is to go against the grain. Your hair’s direction might differ depending on the specific part of your head. Unfortunately, soon after I started caring more about my hairstyle routine, I experienced rapid hair loss.
DWTS host Julianne Hough chops off her own hair as she opens up about needing a ‘fresh start’ in candid new... - The US Sun
DWTS host Julianne Hough chops off her own hair as she opens up about needing a ‘fresh start’ in candid new....
Posted: Sat, 06 Jan 2024 08:00:00 GMT [source]
Step 3: Trim the Back
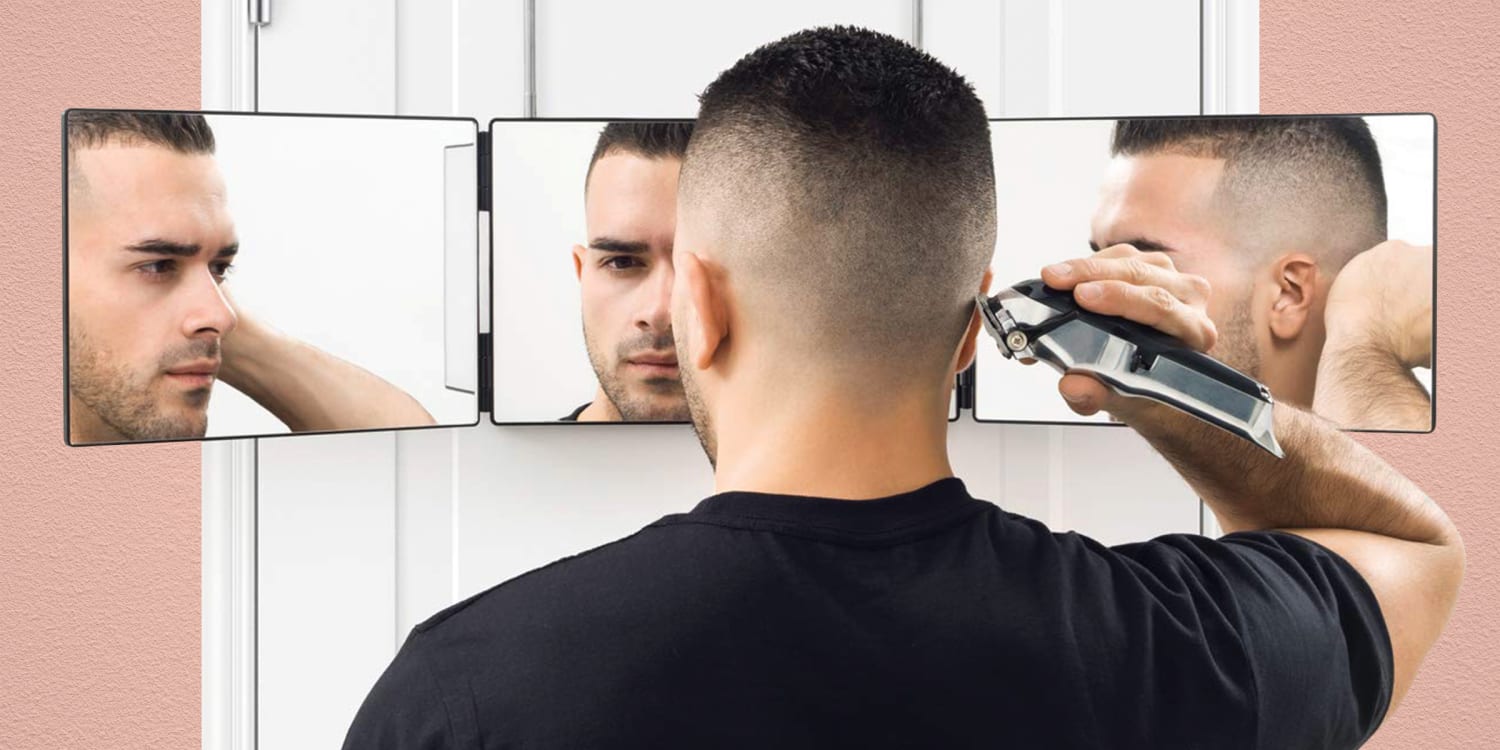
Most of the time, hair on the sides appears to be bulkier which might make your hairstyle lack symmetry. Taking a bit more off the sides preserves the balance and makes your hair look neater. I go bottom-to-top in an against the grain motion once more. Usually this is where you’ll need a small hand mirror to see how your cutting efforts are turning out.
Shuang Qing Umbrella Haircutting Cape Review 2021 The Strategist - New York Magazine
Shuang Qing Umbrella Haircutting Cape Review 2021 The Strategist.
Posted: Fri, 12 Feb 2021 08:00:00 GMT [source]
The days of Mom putting a bowl on your head and cutting around the edge are well and truly over, strategic bobble placement is the way forward. To maintain a short pixie style, Kaye uses clippers, shears and lots of clips (and patience) on her semi-relaxed hair. Parting hair evenly, clipping hair back tightly and carefully combing through hair is crucial for this precise cut. One of the biggest reasons why you may opt to give yourself a trim is to get rid of split ends. Just twist small sections of your hair (as shown in the video) and trim off the split ends that stick out.
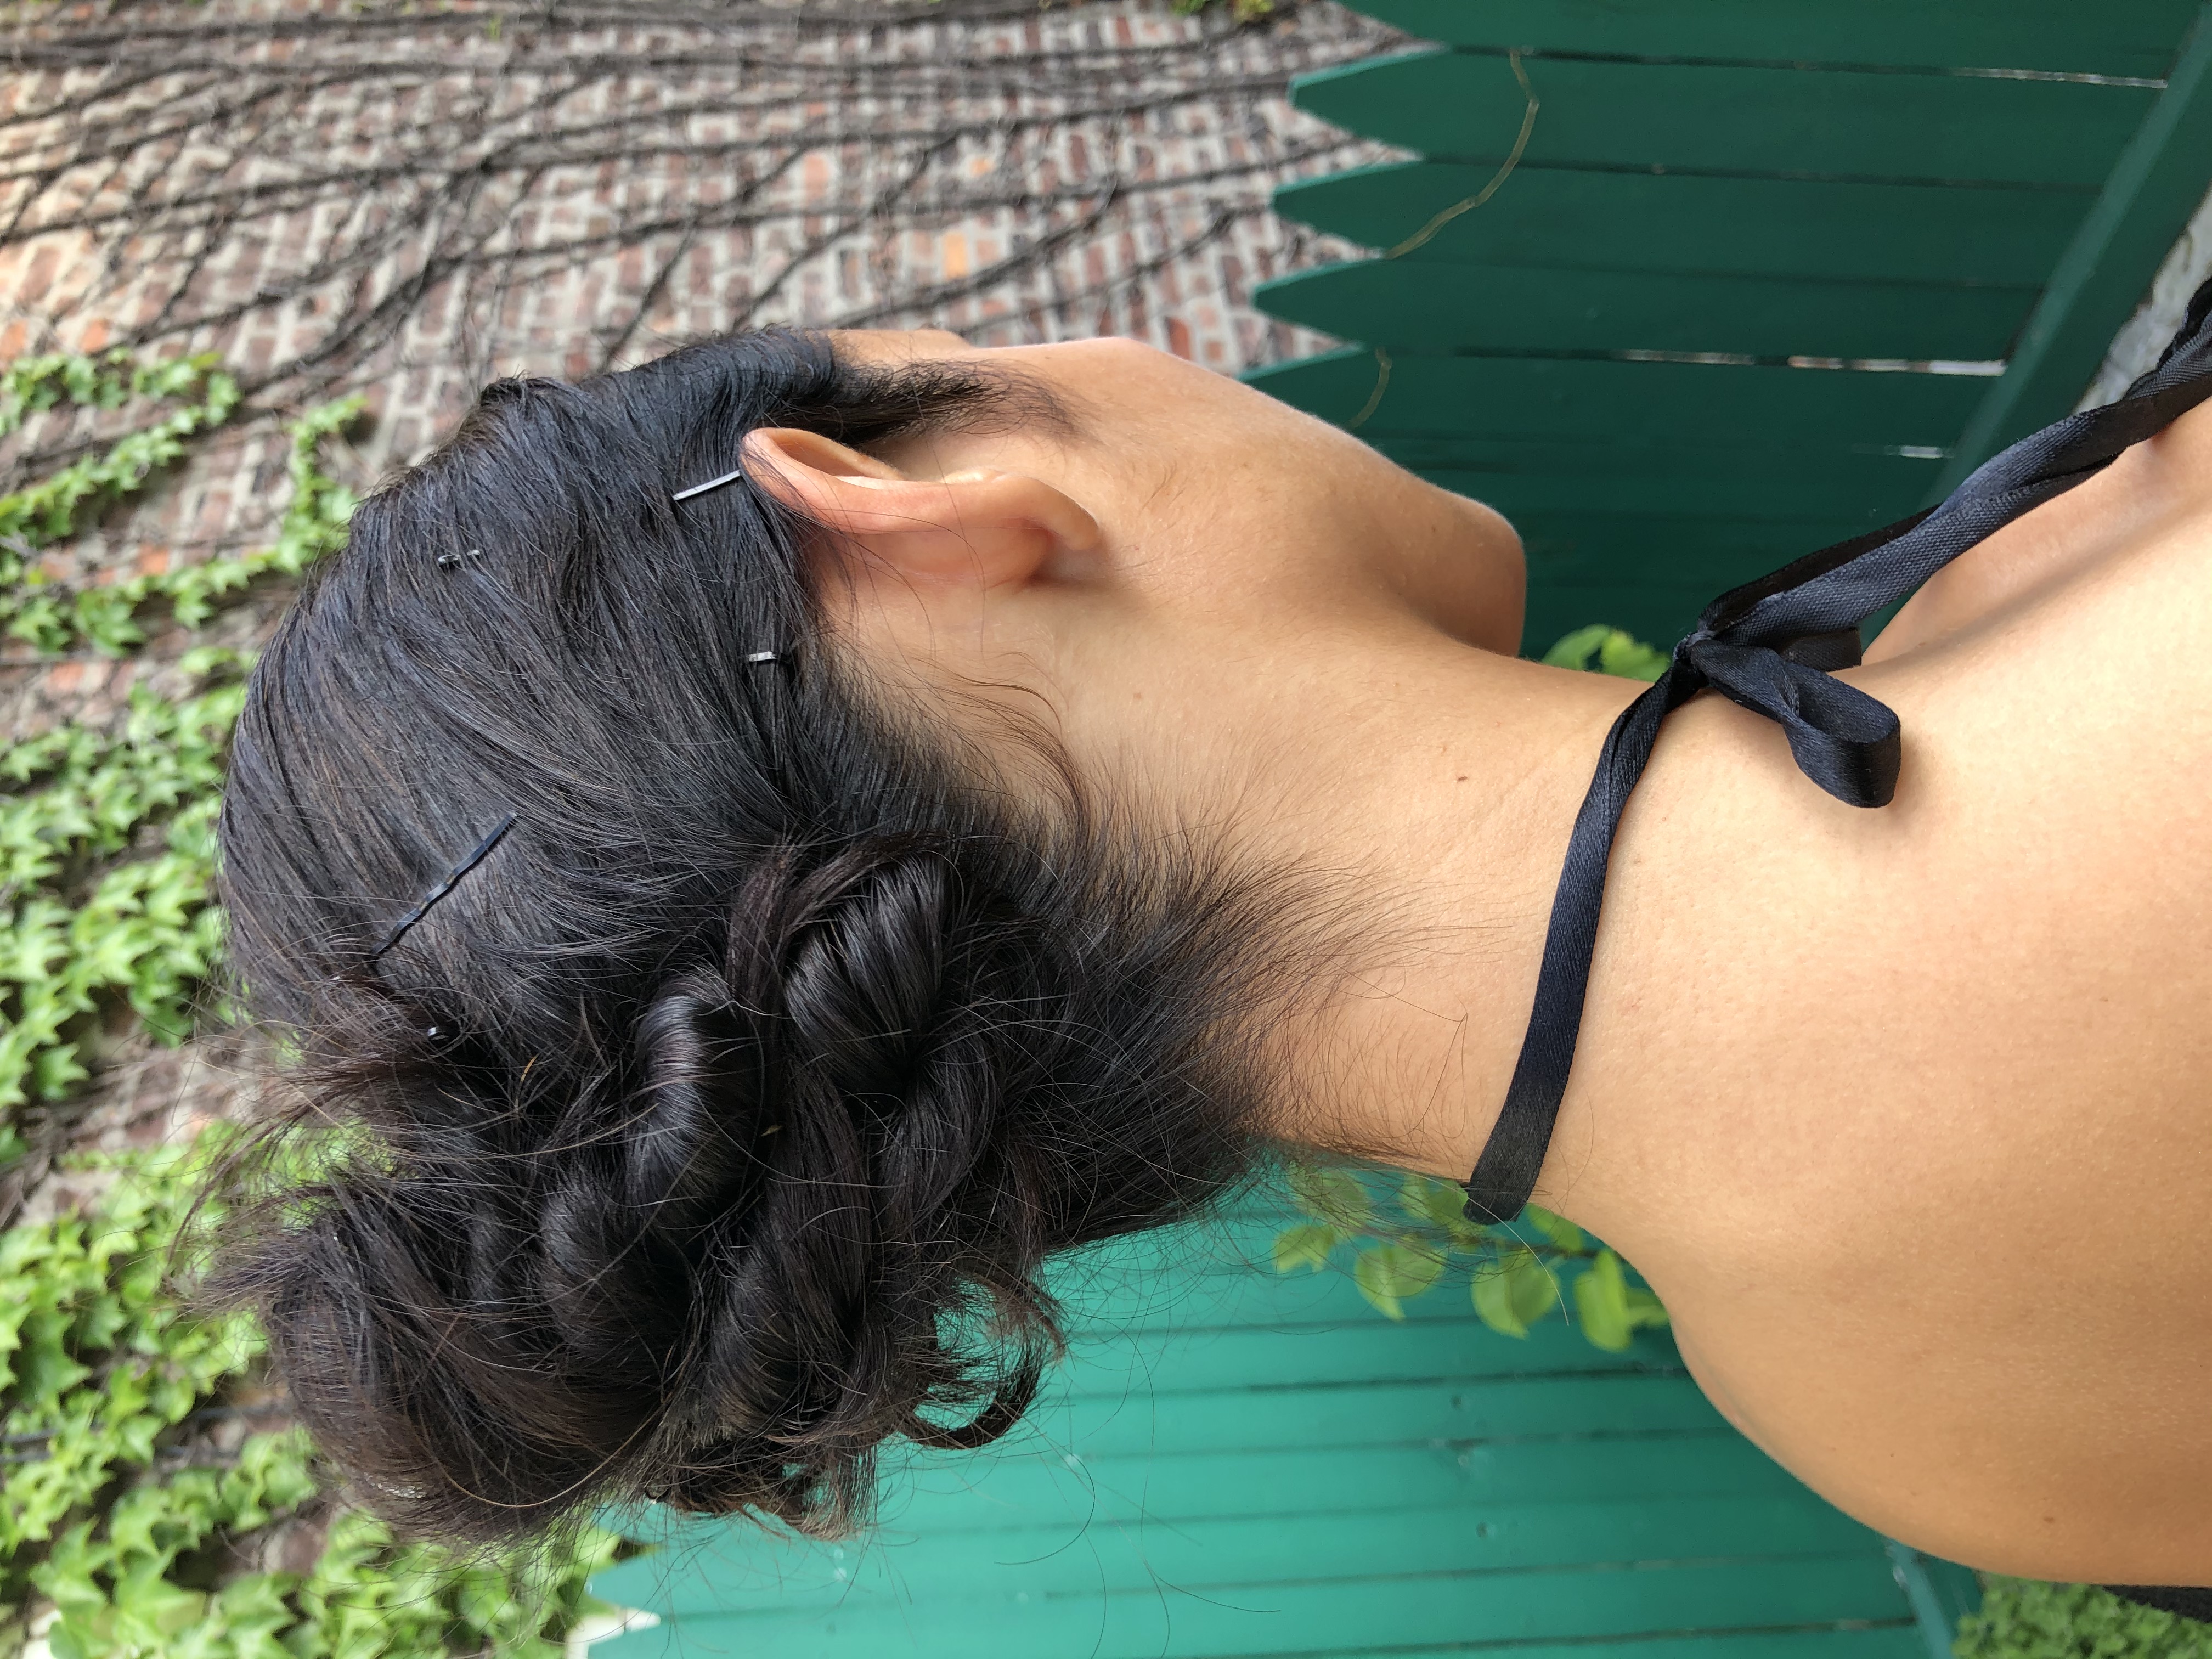
Once you’re happy with the line, chop the bulk of the loose hair off with scissors and then shave it with clippers. Start by scooping the top-zone of your hair into a horseshoe parting and tie it up with a bobble. This is absolutely essential as you don’t want to cut the top section too short! Then, pin up any other wisps of hair that you don’t want to be as short as the hair around your ears and at the nape of your neck. Next, take a deep breath and go to work on the loose hair with clippers. Watch almost any DIY haircut video on YouTube and you’re bound to see women pulling their hair into bobbles left, right, and center.
Hair Clipper Brands
"As long as they're sharp, they don't have a gap at the end, and are angled right, you can use them." Here, the two stylists share their tips on how to give yourself a DIY trim at home without completely messing up your haircut. If you have an extremely thick neck, I advise you to go for a tapered/layered neckline, just like the fade haircuts you’re seeing.
How to Cut Your Hair at Home, According to a Celeb Hairstylist

Cutting layers is one of those things that are probably (definitely) best left to the professionals. While it might seem fun to brush out your hair and clip off major pieces with no forethought, sectioning and going slow will give you the most successful results. First things first, you'll need to find the right pair of scissors for the job, and no, the plastic ones you picked up from Ikea won't produce the best results. "These lengths are more challenging to trim on your own," warns Brook. "I would get a partner to help you trim since the angles of these styles are hard to reach on your own." Here are the answers to some questions you may have about cutting your own hair.
Just A Super Useful Guide To...
Celebrity hairstylist Chris Appleton also provides a step-by-step demonstration on his Instagram, where he suggests that you should start at the front and work your way back. He starts by laying the clippers against the front of the ear near the temple and moves upward. I have the feeling that way too many people think of DIY haircuts and clippers as something that’s way more complicated than it really is. Your cuts will look like crap if you don’t do a little bit of due diligence.
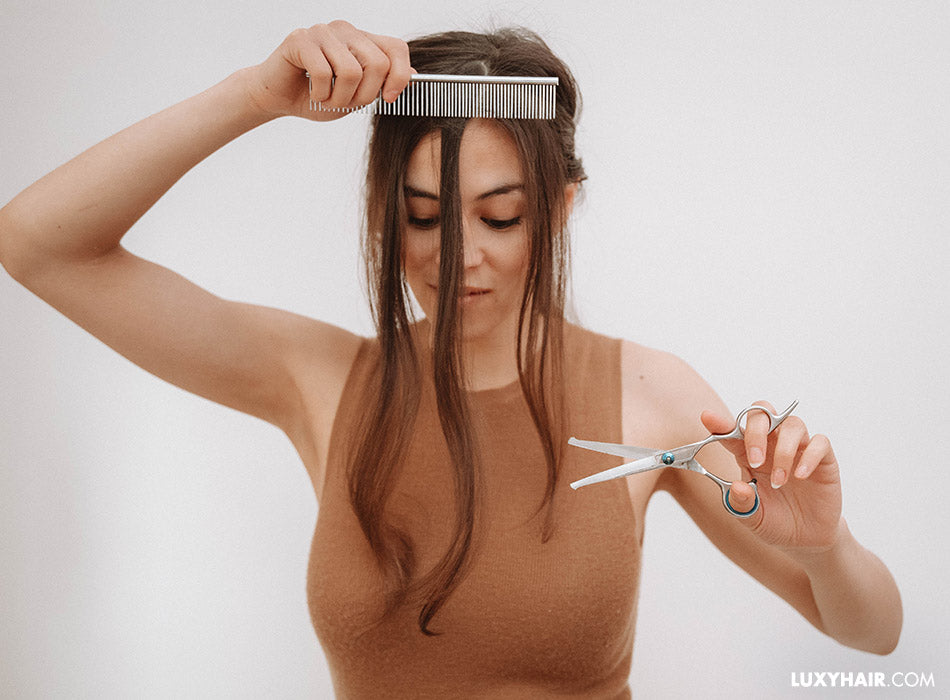
Now, trim damages and split ends of your hair without stretching any of it out with your fingers, a little like cutting a hedge. Once you’ve cut it all, brush your hair out again and trim any stragglers that are sticking out over the edges. Repeat these steps until all of your hair is the same length. Comb out small sections with a fine-tooth comb, clamp it between two of your fingers, and then snip upwards with your scissors. You don’t need to cut into the hair very much, even a few millimeters will soften the edges. The point of sectioning your hair is that it is easier to work your way up when cutting hair.
Marjan says make sure hair is dry and styled the way you usually wear it, “so you have a clear and realistic vision of the cut. “All of these factors cause your hair to change and may be a challenge to cut at home and get the desired results,” she warns. Depending on your curl pattern and your hair shape, you may want to find a video more tailored to your desired end result.
Be sure to invest in a fine-tooth comb, as it is essential to smooth out disobedient hair before every snip. Then, a hand-held mirror is useful to check the back of your hair. You’ll also need a few sturdy hair clasps, bobbles, and a water spray for keeping your hair damp while trimming. This style is layered with bangs, but you can also just trim the ends of your hair using the same technique. For curly or wavy hair, Brook recommends letting it air dry naturally so you can see its shape.
It’s more comfortable to use than many more expensive models we tested, and it was among the hottest and fastest dryers we tried. The W8less is also easier to use in a bathroom without convenient outlets, since its 8-foot cord makes it usable farther away. If you have curly hair, opt for the Rusk CTC Lite, which offers the same performance and warranty as the W8less and comes with a diffuser to help define curls. The key is to start small with a few careful snips — and to go slow. You can always take more hair off, but you can't add back what you've already chopped! If you're cutting your hair while it's wet, remember it will look even shorter once it dries, so snip with extreme caution.
In most of the cases, I recommend you pick an adjustable blade clipper. They are quite straightforward to work with, cheaper and usually come with more accessories. While there are comb sets for detachable clippers too, the real pride and satisfaction of using one comes exactly by sticking to naked blades. Basically, you get a simple, convenient way to further control how much hair you cut, aside from clipper combs.
If you have very curly hair, try a DIY Deva Cut, another technique that requires dry natural hair. Instead of brushing out your hair, just separate the curls with your fingers. For afro-textured hair, keep your hair dry, with no products, and brush it out to its fullest.